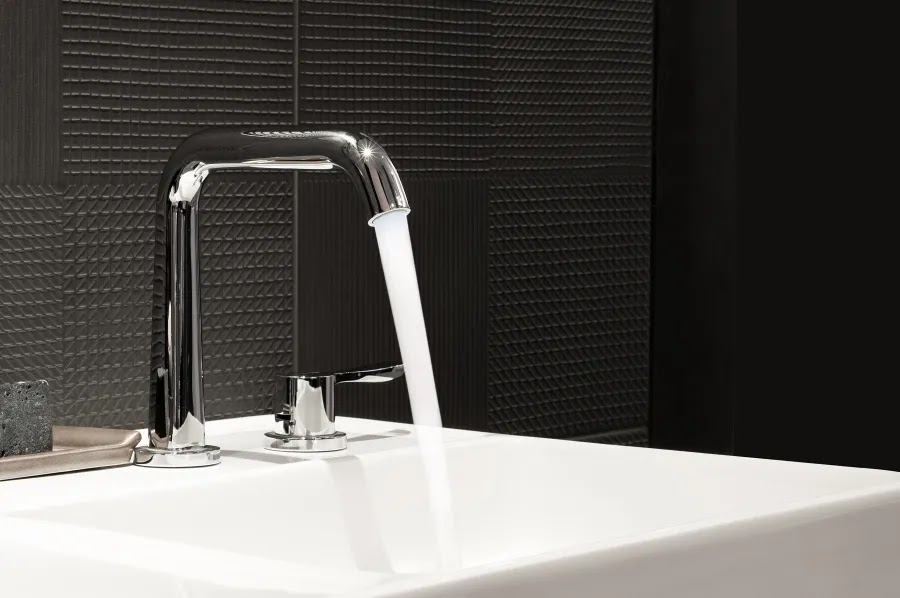
It’s important not to overlook cleaning water faucets as part of your daily cleaning routine. Faucets add a beautiful touch to both kitchens and bathrooms, but over time they may lose their shine due to water stains, mineral deposits, and corrosion. In the following lines, you’ll find a detailed guide on how to clean faucets effectively, techniques to restore their sparkle and shine, and tips to keep them looking like new for years to come.
Understanding Faucet Materials and Finishes
-
Stainless Steel: Durable and corrosion-resistant, stainless steel faucets are relatively easy to clean with mild soap and water. Avoid abrasive cleaners that can scratch the surface.
-
Chrome: Known for its shiny appearance, chrome faucets should be cleaned regularly with mild soap and water. Avoid abrasive cleaners or scrubbing pads that can damage the chrome finish.
-
Brass: Brass faucets usually have a protective clear coating to prevent tarnishing. Use gentle brass cleaners to remove tarnish and restore shine, but avoid abrasive cleaners that could damage the protective layer.
-
Nickel: Clean nickel faucets with mild soap and water to avoid dulling the finish. Dry thoroughly after cleaning and avoid harsh chemicals and abrasive products.
-
Bronze: Bronze faucets have a protective outer layer to prevent fading. Clean them with mild soap and water, steering clear of abrasive cleaners that might scratch the surface.
Step-by-Step Guide to Polishing Faucets
-
Gather the necessary supplies: mild soap, water, microfiber cloths, a non-abrasive cleaner suitable for the faucet material, and a polishing cloth.
-
Mix mild soap with water and apply it to the faucet using a soft cloth to wipe away dirt, debris, and water spots. Pay close attention to crevices and hard-to-reach areas.
-
For stubborn stains or mineral deposits, use a non-abrasive cleaner designed for the faucet material. Follow the product instructions carefully and gently scrub affected areas with a soft brush or sponge.
-
Once clean and free of stains, polish the faucet with a soft cloth dampened with metal polish or a suitable polish for the faucet material. Use gentle circular motions, focusing on dull or tarnished spots.
-
Use a clean, dry microfiber cloth to buff the faucet, removing any excess polish and achieving a brilliant shine without streaks.
-
Repeat polishing if necessary, then wipe with a clean, dry cloth to remove all residue.
Tips for Maintaining Faucet Shine
-
Wipe faucets dry after each use to prevent water spots and mineral buildup.
-
Avoid abrasive cleaners, harsh chemicals, and rough scrubbing pads that can scratch the surface.
-
Consider installing a water softener to reduce mineral deposits and extend the life of your faucets.
-
Apply a protective wax or sealant designed for faucet materials to create a barrier against tarnishing and water damage.
How to Clean Faucets Using Vinegar
White distilled vinegar is a common household cleaner but should be used cautiously on faucet heads. While stainless steel can tolerate acids and chemicals, coatings on gold or modern bronze faucets may not withstand vinegar’s acidity. Vinegar has a pH around 2.5, making it quite strong; it can remove grime but also dissolve the outer protective layers of metal parts, causing dullness or discoloration.
If you are confident the faucet material can tolerate acidic cleaners, follow these steps:
-
Fill a plastic bag with equal parts water and white vinegar.
-
Submerge the faucet head in the bag and secure it with a rubber band.
-
Let it soak for 30 to 60 minutes, then remove the bag.
-
Turn on the faucet to flush out loosened debris inside the head.
-
Rinse thoroughly and dry.


Post a Comment